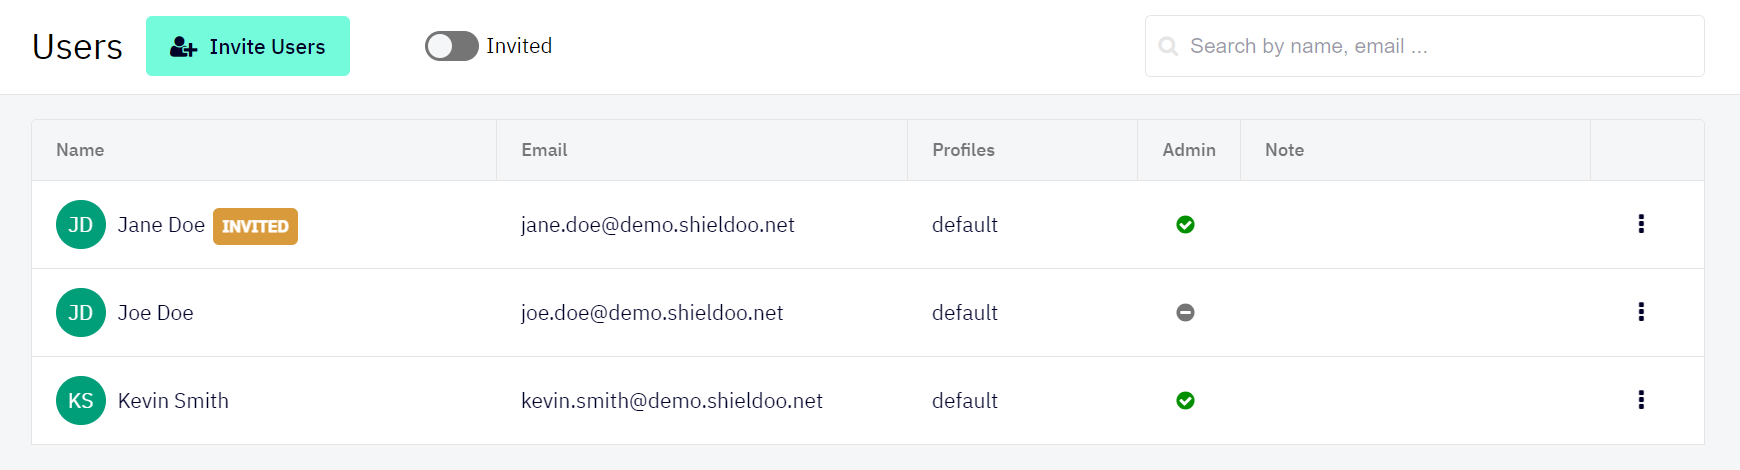
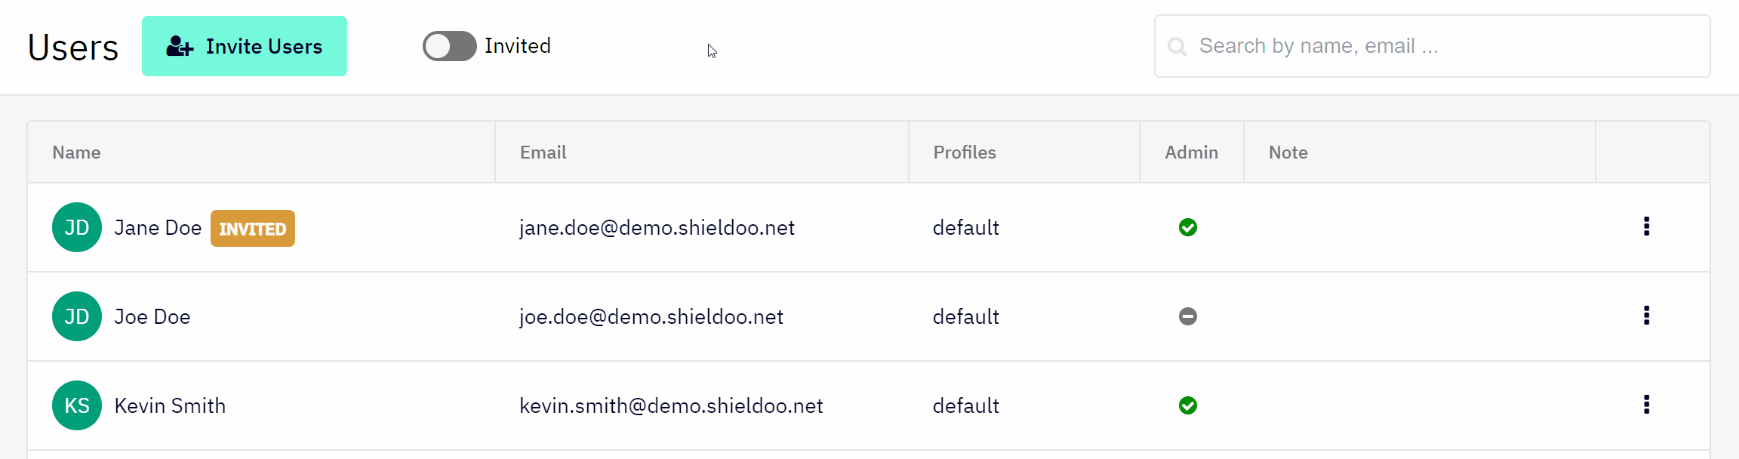
Users
Users in a Shieldoo Secure Network are clients that can connect to servers.
Invite Users
The following steps describe how to invite users to your Shieldoo network:
- Log in to your organization’s Shieldoo Secure Network web application.
- Go to the Network | Users section.
- Click on the Invite Users button to open the Invite Users dialog.
- Configure the user invitation settings:
- Email - Enter the user’s email address you want to invite.
- Admin - Define whether or not to give the given user network administrator rights.
- Note - Describe the user. For example, their role in your organization.
- Click the Invite button to invite users.
- Check that the given users have been added to the list of users in your network.
- Monitor the INVITED label to find out whether or not the given users have accepted the invitation:
- Label displayed - Invitation still needs to be accepted.
- Label not displayed - Invitation accepted.
- Let the users know they can connect to your organization’s network as soon as they accept the invitation.
- Use the Invited button to only display users who have yet to accept their invitations.
- Use the provided search field for specific users by name or email address.


If you invite the users in Admin | Expert mode:
- You can use the Single user or Multiple users option.
- You have to select a specific Available template card. For more information, see Access Card Templates.
Editing Users
This section describes how to edit a user’s configuration after they have been invited.
- Go to the Network | Users section.
Open the context menu of the user whose configuration you want to edit:
- Use the provided options to edit the user:
- Edit - Opens the user’s configuration, which you can edit.
- Grand admin rights - Grants the given user the network administrator rights.
- Revoke admin rights - Removes the network administrator rights from the given user.
- Delete - Deletes the user from your Shieldoo Secure Network.
The user will no longer be able to connect to the network.
Detail Users
This section describes how to view user’s details that can be used to edit the user and manage user access control. For more information about Access Control, see the Access Management chapter.
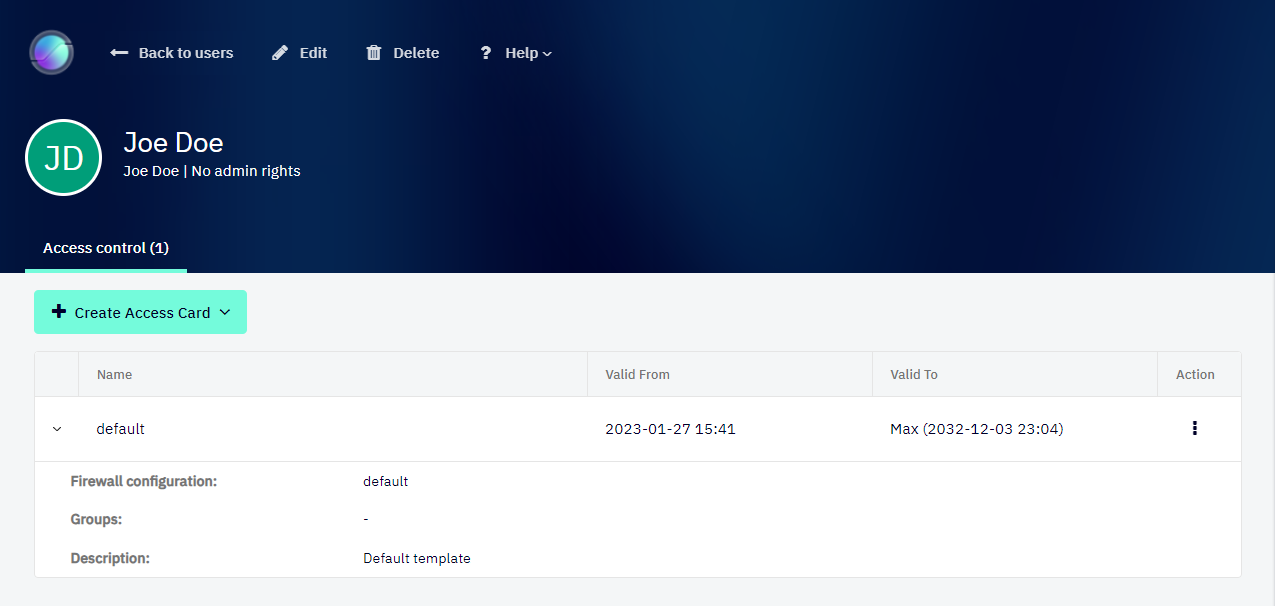
The following steps describe how to view a user’s details:
- Enable Expert Mode.
- See the Access Management chapter to learn how to enable Expert Mode.
- Go to the Network | Users section.
- Open the context menu of the user for whose detail you want to view.
- Click on the Detail option.
Another option to view the user’s details is to go to the Network | Users section and click on the user name in the list of users.
Securing Users
By default, when you set up your Shieldoo Secure Network, all network nodes (users and servers) can access each other.
We highly recommend that you secure the user nodes in your network in the following way:
- Enable Expert Mode.
- See the Access Management chapter to learn how to enable Expert Mode.
- Configure a firewall with the following properties:
- Inbound Rules - Configure no inbound rules to prevent anyone from accessing users.
- Outbound Rules - Configure an outbound rule that grants users access to Any ports opened by servers in the network.
- Create a user access card template with the configured firewall:
- Go to the Network | Access Card Templates section.
- Click on the Create button.
- Configure the template settings. Those settings are a simplified form of server access card.
- Click the Create button to confirm the template’s creation.
- Create an access card for each user in your network using the prepared template.
If you do not see some of the user management features described above, check that you have Identity integration enabled. For more information, see the Identity Integration chapter.